Dưới đây là hướng dẫn cấu hình và sử dụng Restic để backup web và gửi backup web qua Google Drive bằng Rclone để lưu trữ, phù hợp cho hosting DirectAdmin hoặc cPanel nếu bạn không muốn trả phí. Restic tương tự như Jetbackup, mặc dù có nhiều tính năng không thể bằng nhưng về cơ bản nó đáp ứng được các tính năng backup, restore và thuận tiện khi đẩy qua Google Drive.
I. Chuẩn bị môi trường
Cài python 3.8 và pip3
Cài python 3.8
sudo dnf module enable python38
sudo dnf install -y python38 python38-devel python38-libs python38-pip
python3.8 --version
Chọn python 3.8 sử dụng chính
sudo alternatives --install /usr/bin/python3 python3 /usr/bin/python3.8 1
sudo alternatives --config python3
Choose 3.8
Cài pip3 với python 3.8
python3.8 -m ensurepip --default-pip
Cài mudule requests
pip3 install requests
Cài mariadb client
yum install -y mariadb-client gzip
Cài Restic
Tải Restic
wget https://github.com/restic/restic/releases/download/v0.17.0/restic_0.17.0_linux_amd64.bz2
bzip2 -d restic_0.17.0_linux_amd64.bz2
sudo mv restic_0.17.0_linux_amd64 /usr/local/bin/restic
sudo chmod +x /usr/local/bin/restic
Kiểm tra version
[root@directadmin-manhhc ~]# restic version
restic 0.17.0 compiled with go1.22.5 on linux/amd64
Cài đặt Rclone và kết nối tới Google Drive
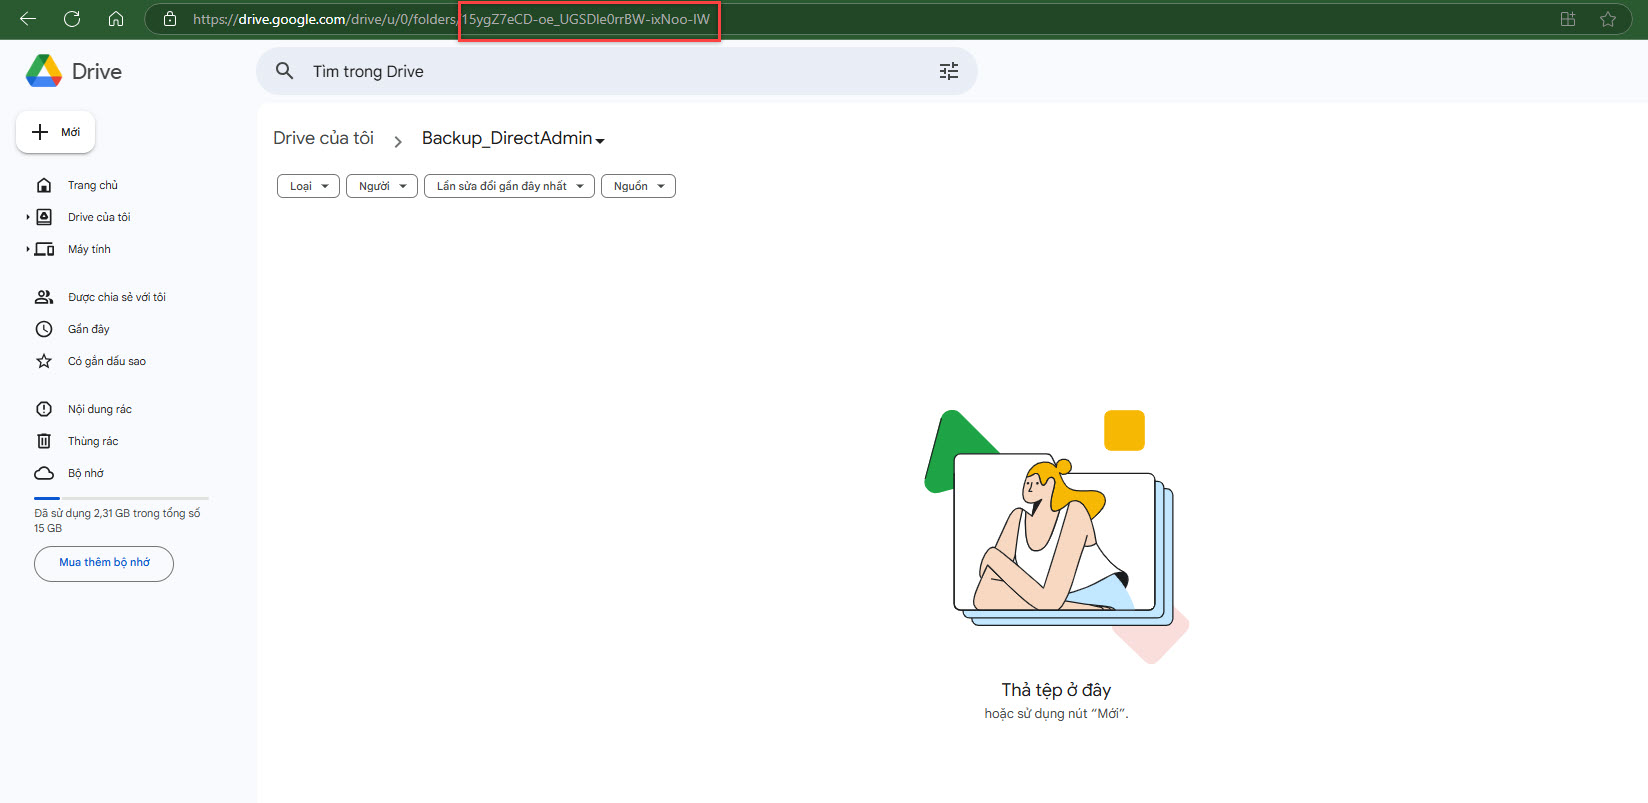
Tạo thư mục trên Google Drive, chuẩn bị key như khoanh đỏ

Cài rclone
yum -y install rclone
Tạo kết nối giữa rclone và Google Drive
[root@directadmin-manhhc ~]# rclone config
2025/02/23 00:43:33 NOTICE: Config file "/root/.config/rclone/rclone.conf" not found - using defaults
No remotes found - make a new one
n) New remote
s) Set configuration password
q) Quit config
n/s/q> n
name> gd
Option Storage.
Type of storage to configure.
Enter a string value. Press Enter for the default ("").
Choose a number from below, or type in your own value.
16 / Google Drive
\ "drive"
Storage> 16
Option client_id.
Google Application Client Id
Setting your own is recommended.
See https://rclone.org/drive/#making-your-own-client-id for how to create your own.
If you leave this blank, it will use an internal key which is low performance.
Enter a string value. Press Enter for the default ("").
client_id> -> Enter
Option client_secret.
OAuth Client Secret.
Leave blank normally.
Enter a string value. Press Enter for the default ("").
client_secret> -> Enter
Option scope.
Scope that rclone should use when requesting access from drive.
Enter a string value. Press Enter for the default ("").
Choose a number from below, or type in your own value.
1 / Full access all files, excluding Application Data Folder.
\ "drive"
2 / Read-only access to file metadata and file contents.
\ "drive.readonly"
/ Access to files created by rclone only.
3 | These are visible in the drive website.
| File authorization is revoked when the user deauthorizes the app.
\ "drive.file"
/ Allows read and write access to the Application Data folder.
4 | This is not visible in the drive website.
\ "drive.appfolder"
/ Allows read-only access to file metadata but
5 | does not allow any access to read or download file content.
\ "drive.metadata.readonly"
scope> 1
Option root_folder_id.
ID of the root folder.
Leave blank normally.
Fill in to access "Computers" folders (see docs), or for rclone to use
a non root folder as its starting point.
Enter a string value. Press Enter for the default ("").
root_folder_id> 15ygZ7eCD-oe_UGSDle0rrBW-ixNoo-IW
Option service_account_file.
Service Account Credentials JSON file path.
Leave blank normally.
Needed only if you want use SA instead of interactive login.
Leading `~` will be expanded in the file name as will environment variables such as `${RCLONE_CONFIG_DIR}`.
Enter a string value. Press Enter for the default ("").
service_account_file>
Edit advanced config?
y) Yes
n) No (default)
y/n> n
Use auto config?
* Say Y if not sure
* Say N if you are working on a remote or headless machine

y) Yes (default)
n) No
y/n> y
2025/02/23 01:01:03 NOTICE: If your browser doesn't open automatically go to the following link: http://127.0.0.1:53682/auth?state=7PVkRig2emA2rTSZIilZ_g
2025/02/23 01:01:03 NOTICE: Log in and authorize rclone for access
2025/02/23 01:01:03 NOTICE: Waiting for code...
Ở bước này, chúng ta cần Create an SSH Tunnel trên máy tính của mình
ssh -L 53682:localhost:53682 -C -N -l <your_user> <your_remote_server_ip>
Sau khi tạo xong, chúng ta sử dụng trình duyệt và truy cập link bên dưới để xác thực
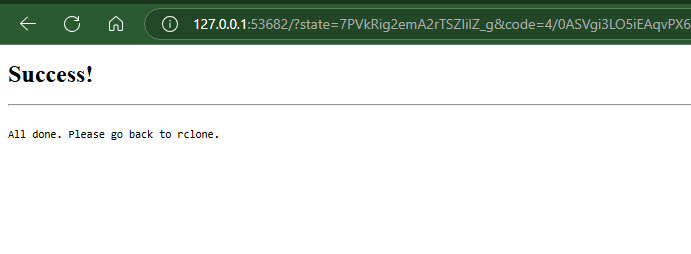
http://127.0.0.1:53682/auth?state=7PVkRig2emA2rTSZIilZ_g

Sau khi xác thực xong, chúng ta quay lại mục config rclone
2025/02/23 01:08:01 NOTICE: Got code
Configure this as a Shared Drive (Team Drive)?

y) Yes
n) No (default)
y/n> y
No Shared Drives found in your account
--------------------
[Google Drive]
type = drive
scope = drive
root_folder_id = 15ygZ7eCD-oe_UGSDle0rrBW-ixNoo-IW
token = {"access_token":"ya29.a0AXeO80RNvLKeJ6V8nct3xj2ba7DSULHF20yzU-iK2kuUToKpokvzOfIu70GcDvQ0_W5UzxuekZJjSPVaHENmXqH5FCp8QNNWUW8KuwtdjwDRsARJbvVjVc07WVIKjW2Sv0nRC4rNfO_F-R6vcMf4_sATQFXEvOFyyZ1meUHlaCgYKAQsSAQ8SFQHGX2MijIzXy4evckuO5Wlf58w90g0175","token_type":"Bearer","refresh_token":"1//0e0nzpbFD7TYICgYIARAAGA4SNwF-L9IrFN0iV18mT7jFMbX-oIQcKN27uPM85aBe9tgNgweWvuHYTUYS6cDJJHO4zQBtOUU3AjY","expiry":"2025-02-23T02:08:00.403968704+07:00"}
--------------------
y) Yes this is OK (default)
e) Edit this remote
d) Delete this remote
y/e/d> y
Current remotes:

Name Type
==== ====
gd drive

e) Edit existing remote
n) New remote
d) Delete remote
r) Rename remote
c) Copy remote
s) Set configuration password
q) Quit config
e/n/d/r/c/s/q> q
Khởi tạo Restic
Khởi tạo Restic repository
export RESTIC_REPOSITORY="rclone:gd:/restic-backups"
export RESTIC_PASSWORD="str0ngPassword"
[root@directadmin-manhhc ~]# restic init
enter password for new repository:
enter password again:
created restic repository c20a319272 at rclone:gd:/restic-backups

Please note that knowledge of your password is required to access
the repository. Losing your password means that your data is
irrecoverably lost.
Như vậy là mình đã hướng dẫn các bạn cách để kết nối Rclone với Google Drive, sau đó tạo thư mục để Restic backup và lưu trữ dữ liệu trên đó. Ở phần tiếp theo, mình sẽ hướng dẫn tạo script backup và Restore, các bạn hãy chú ý đón xem.
